How to Hand-Build a Coil Pot Without Cracks
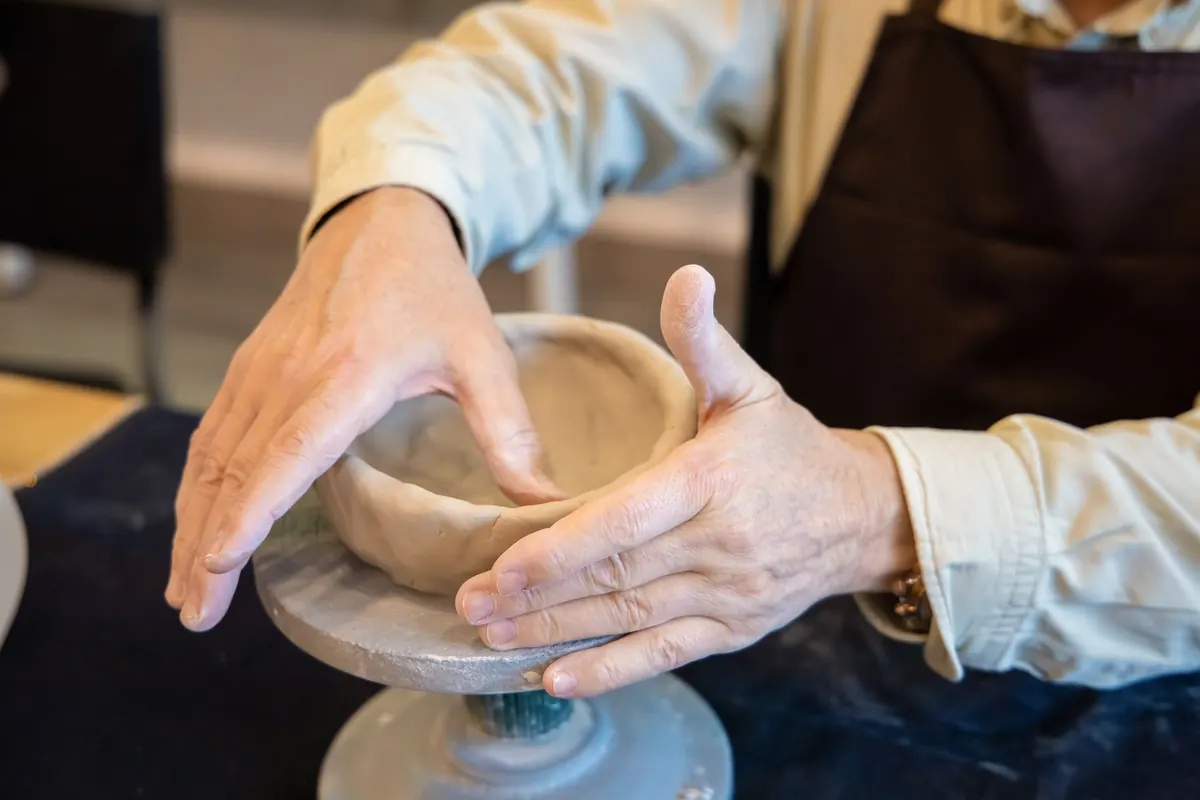
A coil pot looks simple enough to make. You roll a sausage of clay, sit it on a base, add another, and smooth the joins as you go. Then, two days later, a hairline crack opens along the side and the whole thing is fit only for the reclaim bucket. Most cracks in hand-built pots are not bad luck. They are the result of small decisions made hours earlier — clay that was too wet, a join that was only squeezed on the outside, a pot left to dry in a warm room. Work with the clay rather than against it and a coil pot will dry, bisque and glaze without drama.
Start with clay you can trust
Clay straight from a sealed bag is usually ready to use, but not always. Give it a quick wedge on a plaster or canvas surface to even out the moisture and drive out trapped air. Reclaimed clay needs more attention: if it has been sitting in a bucket, spread it on a bat, let it stiffen to a workable consistency, then wedge it thoroughly. A lump of soft, sticky clay feels lovely to handle and is a poor choice for coiling — it slumps under its own weight, shrinks more as it dries and refuses to hold a wall upright.
Before you build anything, run a simple test. Roll a coil about the thickness of a pencil and bend it around your finger. It should curve smoothly without tearing or cracking. If it splits, the clay is either too dry or too short, meaning it lacks the fine particles that give it plasticity. Wrapping it in a damp cloth inside a plastic bag overnight often solves the first problem. The second may mean the clay needs mixing with a more plastic body, or that it is better saved for another job.
Roll coils that behave
Rolling is a skill in itself and it takes a couple of minutes to learn properly. A few habits make it easier:
- Roll on canvas, a wooden board or a plaster bat. Clay sticks less and the coil keeps its shape.
- Use a flat palm and gentle, even pressure, moving outwards from the centre of the coil rather than pushing down hard in one spot.
- Aim for a consistent thumb thickness, roughly 1–1.5cm. Coils that taper produce uneven walls and thick lumps that dry more slowly than their neighbours.
- Don't roll a coil to death. Once it is even, use it. Overworked coils stiffen and crack when bent.
- Keep spare coils under a plastic sheet or a damp cloth while you work, so they stay soft until you need them.
Join every coil properly
Almost every vertical crack in a coil pot traces back to a join. A coil pressed only onto the top of a wall, with nothing done to the inside, is a seam waiting to open. The method is straightforward, and it is worth doing the same way every time:
- Score both surfaces with a fork, a needle tool or the teeth of a serrated rib. Go just deep enough to open the clay — a shallow cross-hatch is plenty.
- Brush on slip made from the same clay body, mixed with water to roughly the consistency of double cream. Matching the clay matters; a slip made from a different body can shrink at a different rate.
- Press the coil into place, then squeeze it down and into the wall with your thumb and forefinger, working all the way round.
- Blend the join inside and out with a wooden modelling tool or your thumb, so the wall reads as one piece rather than stacked rings. On tall or narrow pots, blend the inside as far as you can reach and never let the outside join sit unblended.
- Compress the new rim with your finger or a wooden rib before adding the next coil.
One rule worth keeping: never press a wet coil onto a rim that has already gone bone dry. If a section has stiffened, dampen the rim with a little slip and let it soften for a few minutes first. Joining damp clay to dry clay is a reliable way to produce a crack.
Build in stages, not in one sitting
Coil pots fail when they are built too quickly. Each new round of coils adds weight to what is underneath, and soft clay cannot carry much. Build a few coils, then stop and let the wall firm up to soft leather hard before continuing. This is not wasted time — it is what allows you to shape the pot later without it collapsing.
Keep the walls even in thickness, usually 6–8mm for a medium pot, with a slightly thicker base. Work on a banding wheel if you have one, turning the pot as you go rather than walking around it. Support the inside of the wall with one hand while you shape the outside with a rib or your fingers. If the pot starts to lean or wobble, walk away for twenty minutes. A pot that is too soft cannot be rescued by working faster.
Watch for the classic cracks
Knowing what each crack means makes it easier to prevent the next one.
- S-cracks in the base: usually caused by a base that was rolled, pressed or compressed unevenly, or that is far thicker than the walls.
- Cracks along a coil line: a join that was scored poorly, slipped thinly or blended on one side only.
- Rim cracks: the rim dries first and pulls away from the rest of the pot. Covering it slows the process considerably.
- Long cracks down the side: often the result of drying too fast in a warm room, or of walls of wildly different thickness.
Dry it slowly — the part everyone rushes
Drying is where a good pot is either saved or lost. Clay shrinks as it dries, and it needs to shrink evenly. Anything that speeds up the process in one area creates tension somewhere else.
Put the finished pot inside a plastic bag and leave it somewhere cool, out of direct sun and away from radiators, draughts and kilns. Open the bag a little at first, then fold it further back each day over the course of a week or so. Wrap the rim in a strip of plastic or a damp cloth, because it will always dry before the base. Turn the pot gently every day or two so air reaches all sides.
A small pot may be dry in three to five days. A large one can take two weeks or more. Judge by feel rather than by the calendar: the base should feel dry and slightly warm to the touch, not cold and damp. If it still feels cool, it needs longer.
Dealing with a crack before the kiln
If you spot a crack while the pot is still at leather-hard stage, you can often save it. Push a little soft clay of the same body into the gap, compress the area firmly with a rib or your thumb, and blend the repair in. For a longer split, lay a thin coil along the crack, press it in and smooth it over. Once the pot is bone dry, filling is far less reliable — the repair will not fuse properly and may open again in the firing.
Before it goes in the kiln
Make sure the pot is genuinely bone dry before firing, and follow the bisque schedule recommended for your clay body. Packing a kiln tightly with damp hand-built pots is asking for trouble. If you fire at a community studio, tell whoever loads the kiln that the piece is hand-built and quite thick in places, so it can be fired a little more gently. Line the shelf under an uneven base with a thin layer of sand or a waster slab to let it move as it shrinks.
Coil building rewards patience more than technique. Prepare the clay properly, join each coil as though it matters, let the walls firm up between rounds, and give the pot a slow, uneventful drying. Do those four things and the crack you were expecting simply never turns up.
Photo: Kampus Production / Pexels