How to Sculpt a Portrait Bust in Clay: Proportions and Hollowing
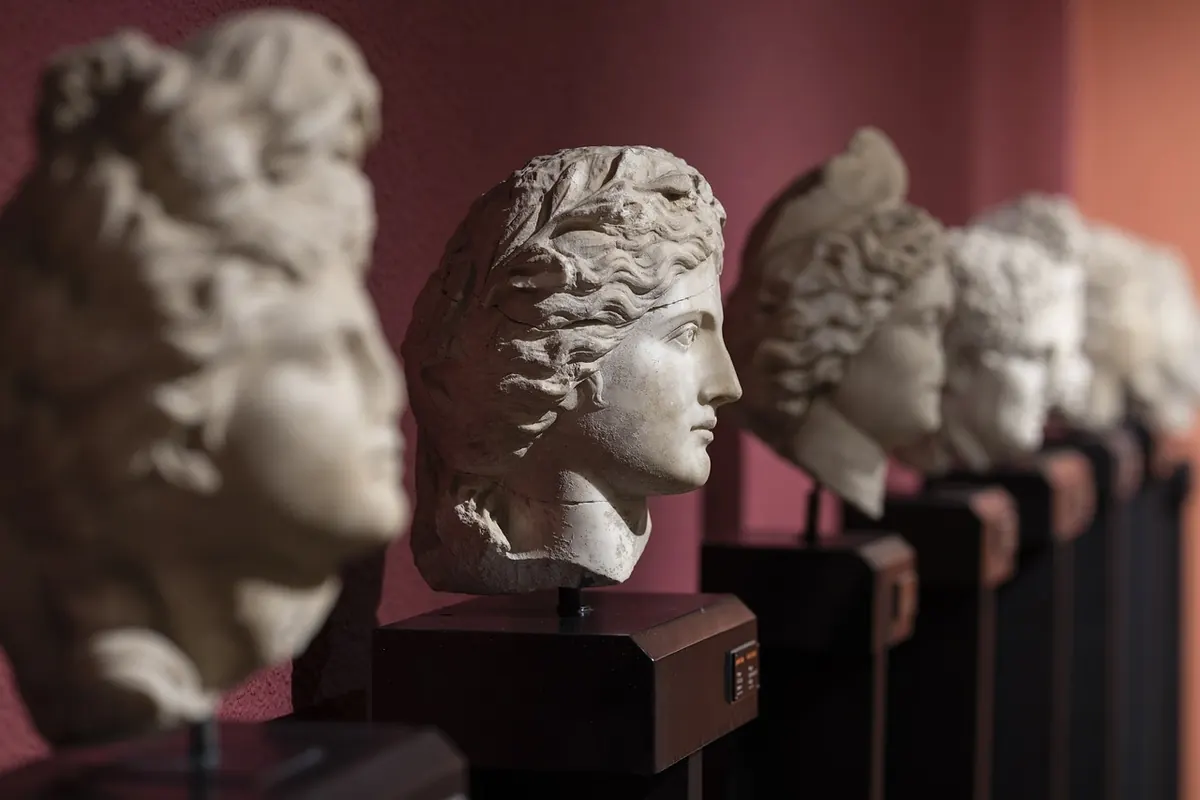
A portrait bust is the most honest exercise in clay. Nothing hides. Two millimetres too much at the corner of the mouth and a familiar face becomes a stranger. The comfort is that most of the difficulty is structural rather than mysterious: build an armature that holds its ground, work to proportions you can actually measure, and hollow the piece before the clay goes hard, and the likeness has room to appear.
Build the armature as though the sculpture depends on it
It does. A bust carries weight at the top of a narrow neck, and a weak armature will lean, sag or shear at the shoulders. Fix a flange to a stout board, screw in a metal pipe or hardwood dowel as the spine, and build the shoulders and neck from twisted aluminium wire — thicker than you think, roughly 4–6mm for a life-size bust.
The head needs a core. Crumple newspaper or foil into a rough skull shape and wire it to the top of the spine, so the clay you pack around it stays under about 40mm thick. Anything fatter will fight you later when you hollow, and it will hold moisture for weeks. Newspaper is easier to remove; foil holds its shape better if you plan to dig it out from underneath.
Leave the neck wire slightly thin so you are forced to build a decent column of clay there. Necks break because sculptors leave them unsupported and hollow.
Proportion before likeness
Forget the face for the first hour. A bust lives or dies on the big shapes: the volume of the skull, the angle of the jaw, the length of the neck, the slope of the shoulders.
These standard proportions are averages, and every sitter departs from them, but they are a sound place to start:
- Eyes sit roughly halfway down the head, measured crown to chin — not halfway down the face.
- Hairline to brow, brow to the base of the nose, nose to chin: three roughly equal thirds.
- The head is about five eye-widths across at its widest.
- Ears run from the brow line down to the base of the nose.
- The neck is around half the width of the head at the jaw.
- A bust is usually cut at the collarbone or the top of the chest, with a small plinth beneath.
Measure rather than guess. Callipers, a plumb line hung from the brow, and a mirror on the bench will catch more errors than your eye will. Turn the bust a quarter-turn every twenty minutes; a profile that looks right from the front is often wrong from the side.
Building the features
Work in order of depth: sockets first, then the masses that sit inside them.
Eyes
Carve an eye and it will look dead. Build it. Set a sphere into the socket, add the upper lid as a thicker band across the top third of the eyeball, then the lower lid as a thinner, flatter edge. The inner corner tucks back towards the nose and slightly down; the outer corner usually sits lower than beginners expect.
Nose and mouth
Start the nose as a wedge from the brow to the tip, then add the wings as separate small masses. The nostril is a shadow, not a hole — set it with a tool, then soften the rim. The lips wrap around the curve of the teeth, so build them as a cylinder rather than a flat patch. The line where the lips meet is a shallow curved “M”, not a slash. Push the corners back into the cheek slightly and keep the philtrum above the top lip shallow.
Ears
Think of an ear as a flattened Y in cartilage, angled back a little. It reads as an ear from the front long before it is detailed, so resist fussing.
Surface, texture and the honest mirror
Refine at leather-hard, when the clay holds an edge but still takes a fingerprint. The temptation is to wet everything into a smooth, soapy finish; resist it. Keep the tool marks that describe form — a plane change at the cheekbone, a soft drag across the temple — and smooth only the transitions where two forms meet.
Photograph the bust from four angles and look at the pictures the next morning. Faults that hide in three dimensions are obvious in a flat image.
Hollowing without wrecking the work
There are two routes, and both need to happen before the bust goes hard.
- Build hollow from the start. Keep the clay skin thin over a removable core, then dig the newspaper or foil out through the base once the clay is firm enough to hold its own shape.
- Cut and scoop. Let the bust firm to leather-hard, run a wire or long knife down the back of the head and neck to split it, then scoop the interior with a wire loop tool or a spoon, keeping the walls even.
Wall thickness is the number that matters. Aim for roughly 20–30mm on a life-size bust — about the thickness of your thumb — and keep it even from crown to chest. Evenness matters more than exactness; a wall that swings from 10mm to 60mm is more likely to crack than one that is uniformly a little thick.
To rejoin the halves, score both edges, paint on thick slurry, press firmly, and fill the seam from the outside with a coil of soft clay. Wrap the whole piece in plastic for a few days so the join and the surface equalise.
Then dry it slowly. Unwrap the plastic for a little longer each day, keep the bust off cold floors and away from radiators, and expect a large piece to take two to four weeks. If it is going to a kiln, pierce a small vent hole in a hidden spot and discuss the firing schedule with whoever is firing it — a thick, damp piece needs a long, gentle programme.
Clay dust is the genuine health risk in a studio, not the clay itself. Never sand or scrape dry clay; clean surfaces with a wet cloth, and wear a suitable mask when handling dry materials.
A routine that keeps you honest
Start each session by standing back and looking at the silhouette, not the eyelashes. Spend the first hour on the armature and the profile, then rotate the bust as you work the features. Finish every session by covering the clay with plastic, even if you are coming back in an hour — leather-hard arrives faster than you think. Photograph the piece before you hollow it, because the shape will shift slightly during the cut and scoop. Work in daylight where you can, keep the mirror within reach, and stop while the clay is still responding to your fingers rather than fighting them.
Photo: Engin_Akyurt / Pixabay